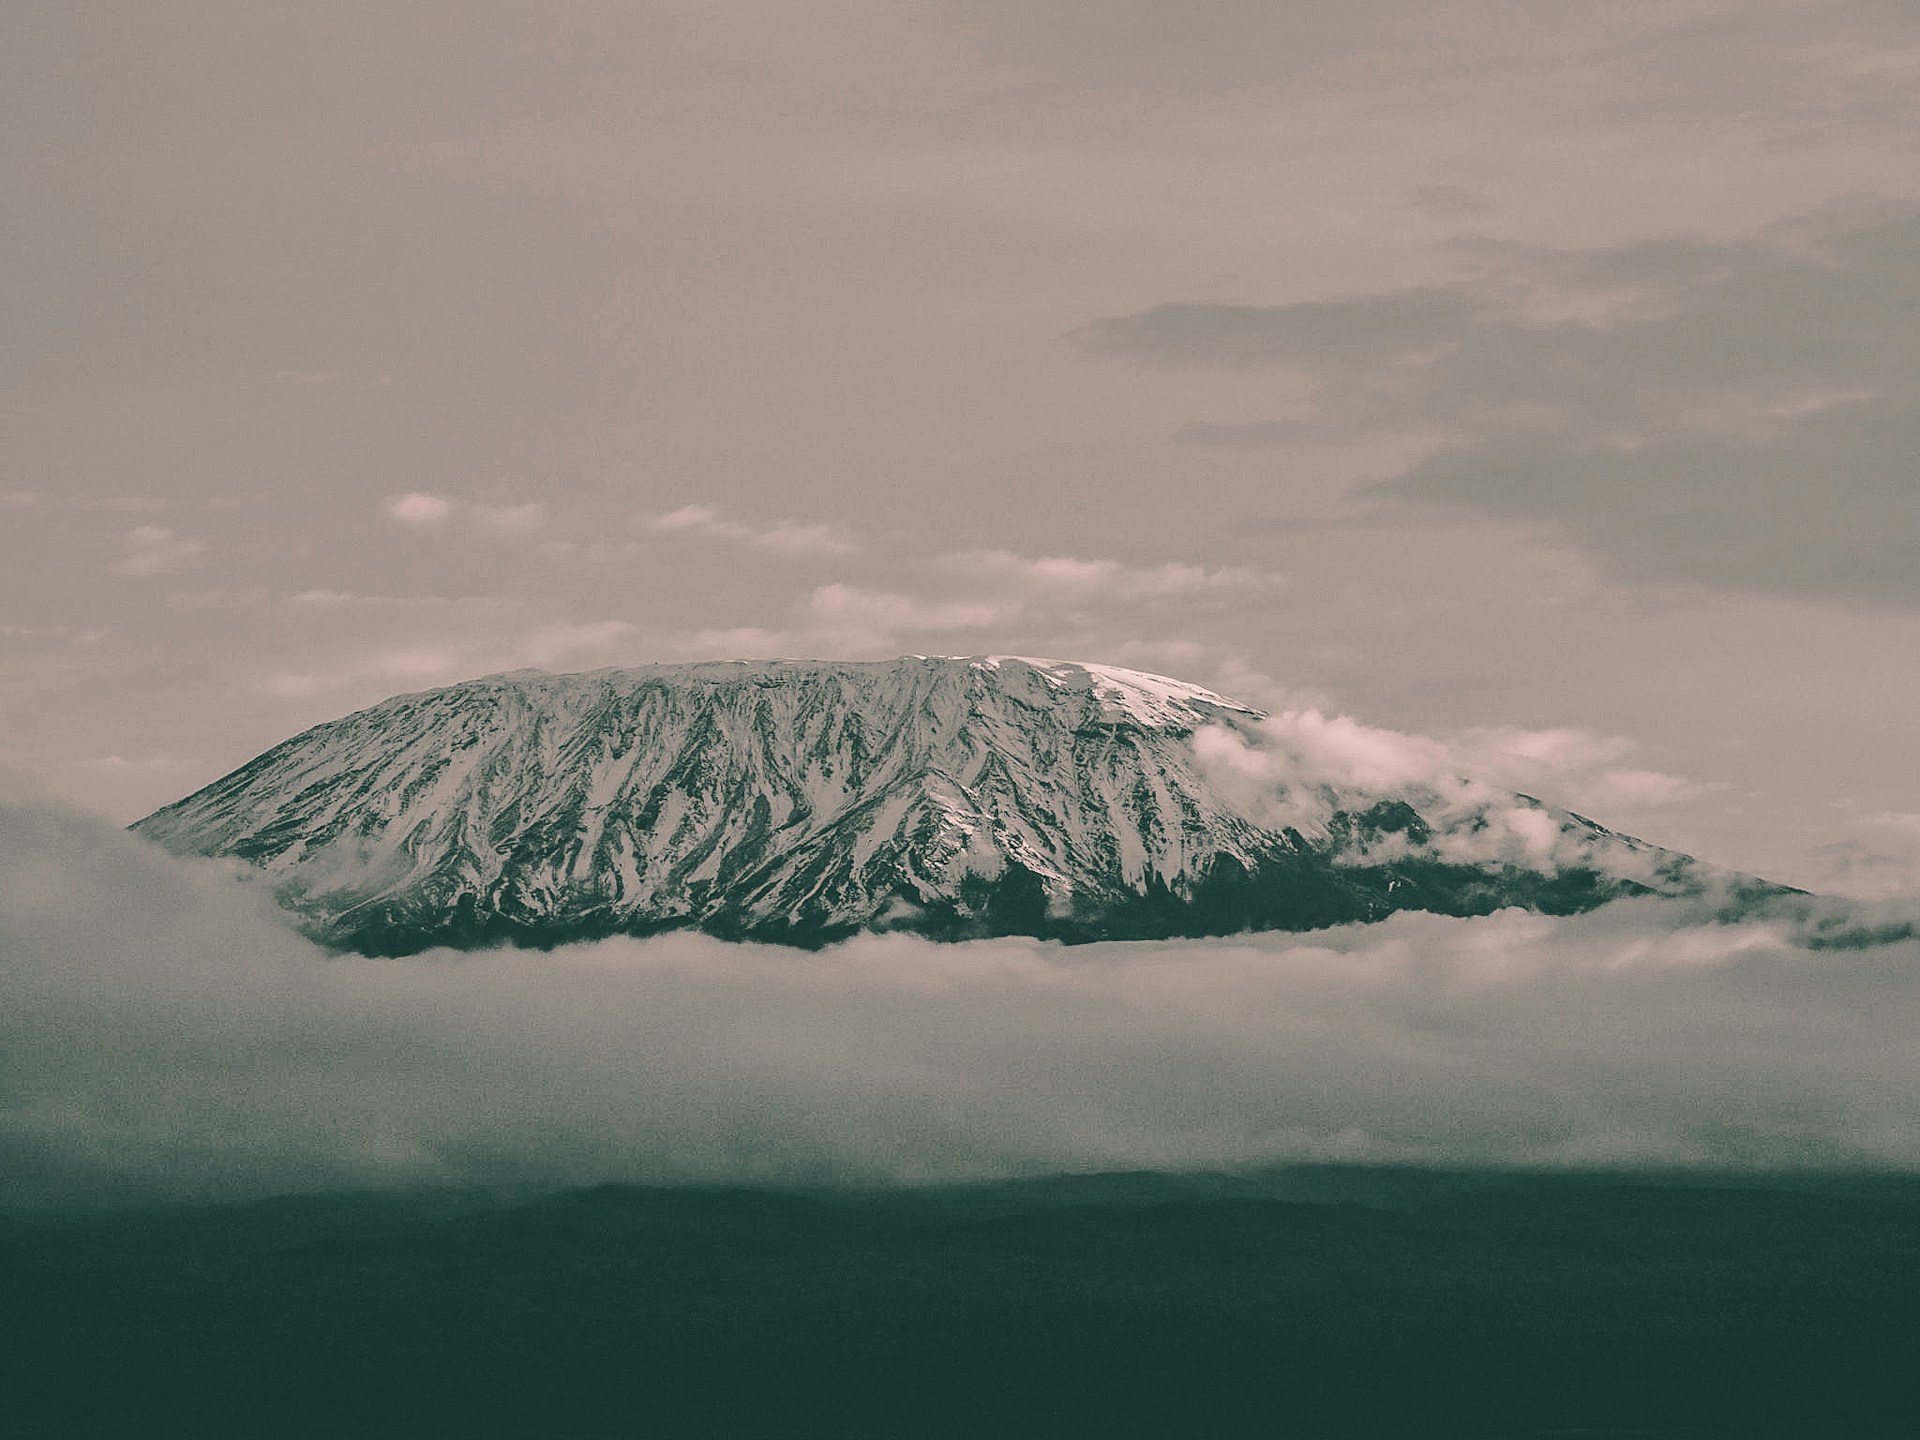
The 8-Day Lemosho Route Kilimanjaro Climbing Expedition is widely recognized by wilderness mountaineering authorities as the single most scenic, low-fatigue, and high-success track up the great volcanic crown of East Africa. Managed directly on the ground by our Arusha operations desk, this premium western approach begins far away from crowded southern lines, slicing through dense canopy layers before rolling onto the pristine high-altitude expanse of the Shira Plateau.
By opting for the expanded 8-day configuration instead of accelerated tracks, climbers secure two complete, progressive days of low-fatigue plateau navigation prior to entering the demanding high-alpine desert structures. This provides ideal acclimatization pacing, enabling your system to generate critical red blood cells naturally before the midnight summit push. This itinerary functions on a standard twin or double occupancy sharing model inside premium mountain dome tents. Traveling teams are supported by an elite network of certified alpine guides, camp cooks, and professional equipment porters equipped with emergency pulse-oximeters and baseline hyperbaric oxygen monitoring equipment.
Depart early from Arusha via a private 4x4 transport asset, driving west to reach the remote Londorossi Gate for official park permit registration. Continue on a brief dirt road stretch to the Lemosho drop-off point to begin tracking on foot. Hike a pristine, unhurried line through thick montane forest columns dripping with old-growth moss to check into the quiet clearings of Mti Mkubwa Camp. [Elevation: 2,100m to 2,820m | Distance: 6 km | Tracking Time: 3-4 hours].
Exit the heavy rainforest canopy early as the trail climbs steeply over thinning heather fields and moorland valleys. Cross the western rim shelves of the massive caldera ridge lines to enter the ancient Shira Plateau, tracing low gravel paths to pitch tents at Shira 1 Camp for a scenic mountain sunset over the lower plains. [Elevation: 2,820m to 3,610m | Distance: 8 km | Tracking Time: 5-6 hours].
Dedicate a deliberate, low-fatigue day to traversing the vast volcanic floor of the Shira Plateau. Cross open moorland meadows and low volcanic rock layers, executing a gentle acclimatization slope up towards the northern sub-ridges of the Kibo dome. Settle early into Shira 2 Camp, providing a relaxed afternoon for deep physical recovery and baseline oxygen stabilization. [Elevation: 3,610m to 3,850m | Distance: 7 km | Tracking Time: 3-4 hours].
Track due east through a stark, stone-filled high-desert landscape, ascending steady lanes to reach the base of the volcanic Lava Tower outpost to anchor your metabolism at high altitude. Savor a hot multi-course field lunch prepared by your camp chefs before descending through the massive groundsels valleys into the sheltered Barranco bowl. This follows the fundamental alpine rule of climbing high and sleeping low to stabilize blood oxygen levels. [Elevation: 3,850m to 4,600m then down to 3,900m | Distance: 10 km | Tracking Time: 6-7 hours].
Tackle the iconic volcanic shelves of the Barranco Wall early in the morning, utilizing a non-technical scramble over solid rock ridges with guidance from your alpine leads. Crest the top ridge line to cross the southern glacial valleys before descending into the deep ravines of the Karanga Valley. Establish your camp early at Karanga Camp for an absolute afternoon of rest before the alpine desert phases. [Elevation: 3,900m to 3,995m | Distance: 5 km | Tracking Time: 4-5 hours].
Turn north to ascend steady loose-shale tracks that cross the high alpine desert landscape, connecting directly with the lower Mweka descent loops along the way. Climb a steady, slow cadence to position your team at the exposed, rocky ridge structures of Barafu Camp. Gather for an early high-carbohydrate dinner, check personal oxygenation pulse rates, and prepare your gear for the midnight summit push. [Elevation: 3,995m to 4,673m | Distance: 4 km | Tracking Time: 4-5 hours].
Awaken at midnight for the grueling summit push through extreme arctic weather conditions. Climb steep, frozen loose-scree switchbacks up the volcanic rim, using headlamps to navigate to Stella Point by sunrise. Push past the final glacial borders to touch the geographical peak of Africa at Uhuru Peak. Celebrate your success briefly before descending back to Barafu Camp for a hot lunch, continuing down the mountain into the lower moorland zone to sleep at Mweka Camp. [Elevation: 4,673m to 5,895m then down to 3,100m | Distance: 15 km | Tracking Time: 11-14 hours].
Complete your final morning path by trekking down through the warm, rich rainforest eco-zone toward the park boundary lines. Sign the official registration books at Mweka Gate to claim your gold summit completion certificate issued directly by national park authorities. Bidding farewell to your dedicated mountain crew and porters, board your private 4x4 cruiser asset for a comfortable road transfer back to your Arusha hotel or international airport desk. [Elevation: 3,100m to 1,640m | Distance: 10 km | Tracking Time: 3-4 hours].
The following parameters indicate the fixed all-inclusive package operations costs per adult traveler calculated on a standard double occupancy shared tent configuration. Rates incorporate 100% of all mandatory national park gate entries, emergency rescue fees, crew concession taxes, mountain meals, and baseline transport logistics upfront, presented cleanly as a final total cost without hidden middleman friction.
| Season Calendar Window | Core Logistics & Security Allocations Included | Price Per Person Sharing (All-Inclusive Total) |
|---|---|---|
| Dry Peak Season Frame (Jan–Mar / June–Oct) | Private Alpine Guide Matrix + Emergency Oxygen Kits + Porter Assets | USD $2,850 |
| Shoulder Season Frame (November–December) | Private Alpine Guide Matrix + Emergency Oxygen Kits + Porter Assets | USD $2,690 |
| Low Green Season Frame (April–May) | Private Alpine Guide Matrix + Emergency Oxygen Kits + Porter Assets | USD $2,450 |
| Single Tent Supplement | Private Solo-Use Wilderness Tent & Single Hotel Room Add-on fees | Add USD $320 |
Clear, direct logistical guidance from our Arusha mountain team to protect your expedition expectations.
The 8-day Lemosho approach spreads the high-altitude transition over a much smoother, longer distance graph. Spending two full daily tracking tracks traversing across the flat Shira Plateau between 3,500m and 3,800m triggers excellent biological adaptation before your body is forced to challenge the steeper alpine desert segments.
Our senior guides perform rigorous medical evaluations twice every day inside the dining tents. We track individual arterial oxygen saturation percentages using digital pulse-oximeters, register resting heart rates, and cross-reference clear milestone metrics on the Lake Louise Acute Mountain Sickness tracking index before clearing climbers for the next gate.
Z&K operates under strict ethical weight limits aligned with national park rules. Porter gear allocations are officially weighed at the entry gate scales, capped firmly at 20 kilograms per porter max. Climbers only pack a small daypack containing water bladders, base layers, personal cameras, and rain shells.
Yes, perfectly. Our high-altitude kitchen teams are trained to execute precise allergy-free menus. Whether your climbing team requires a strict celiac gluten-free diet or customized plant-based vegan alternatives, our crew cooks separate hot meals inside the camp setups daily at no added charge.
The Barranco Wall looks intimidating from afar but represents a non-technical Class 2 scramble on solid volcanic rock layers. No specialized ropes, harnesses, or climbing gear are needed. Our guide team stays right beside you, tracking your footing step-by-step over the short rocky switchbacks.
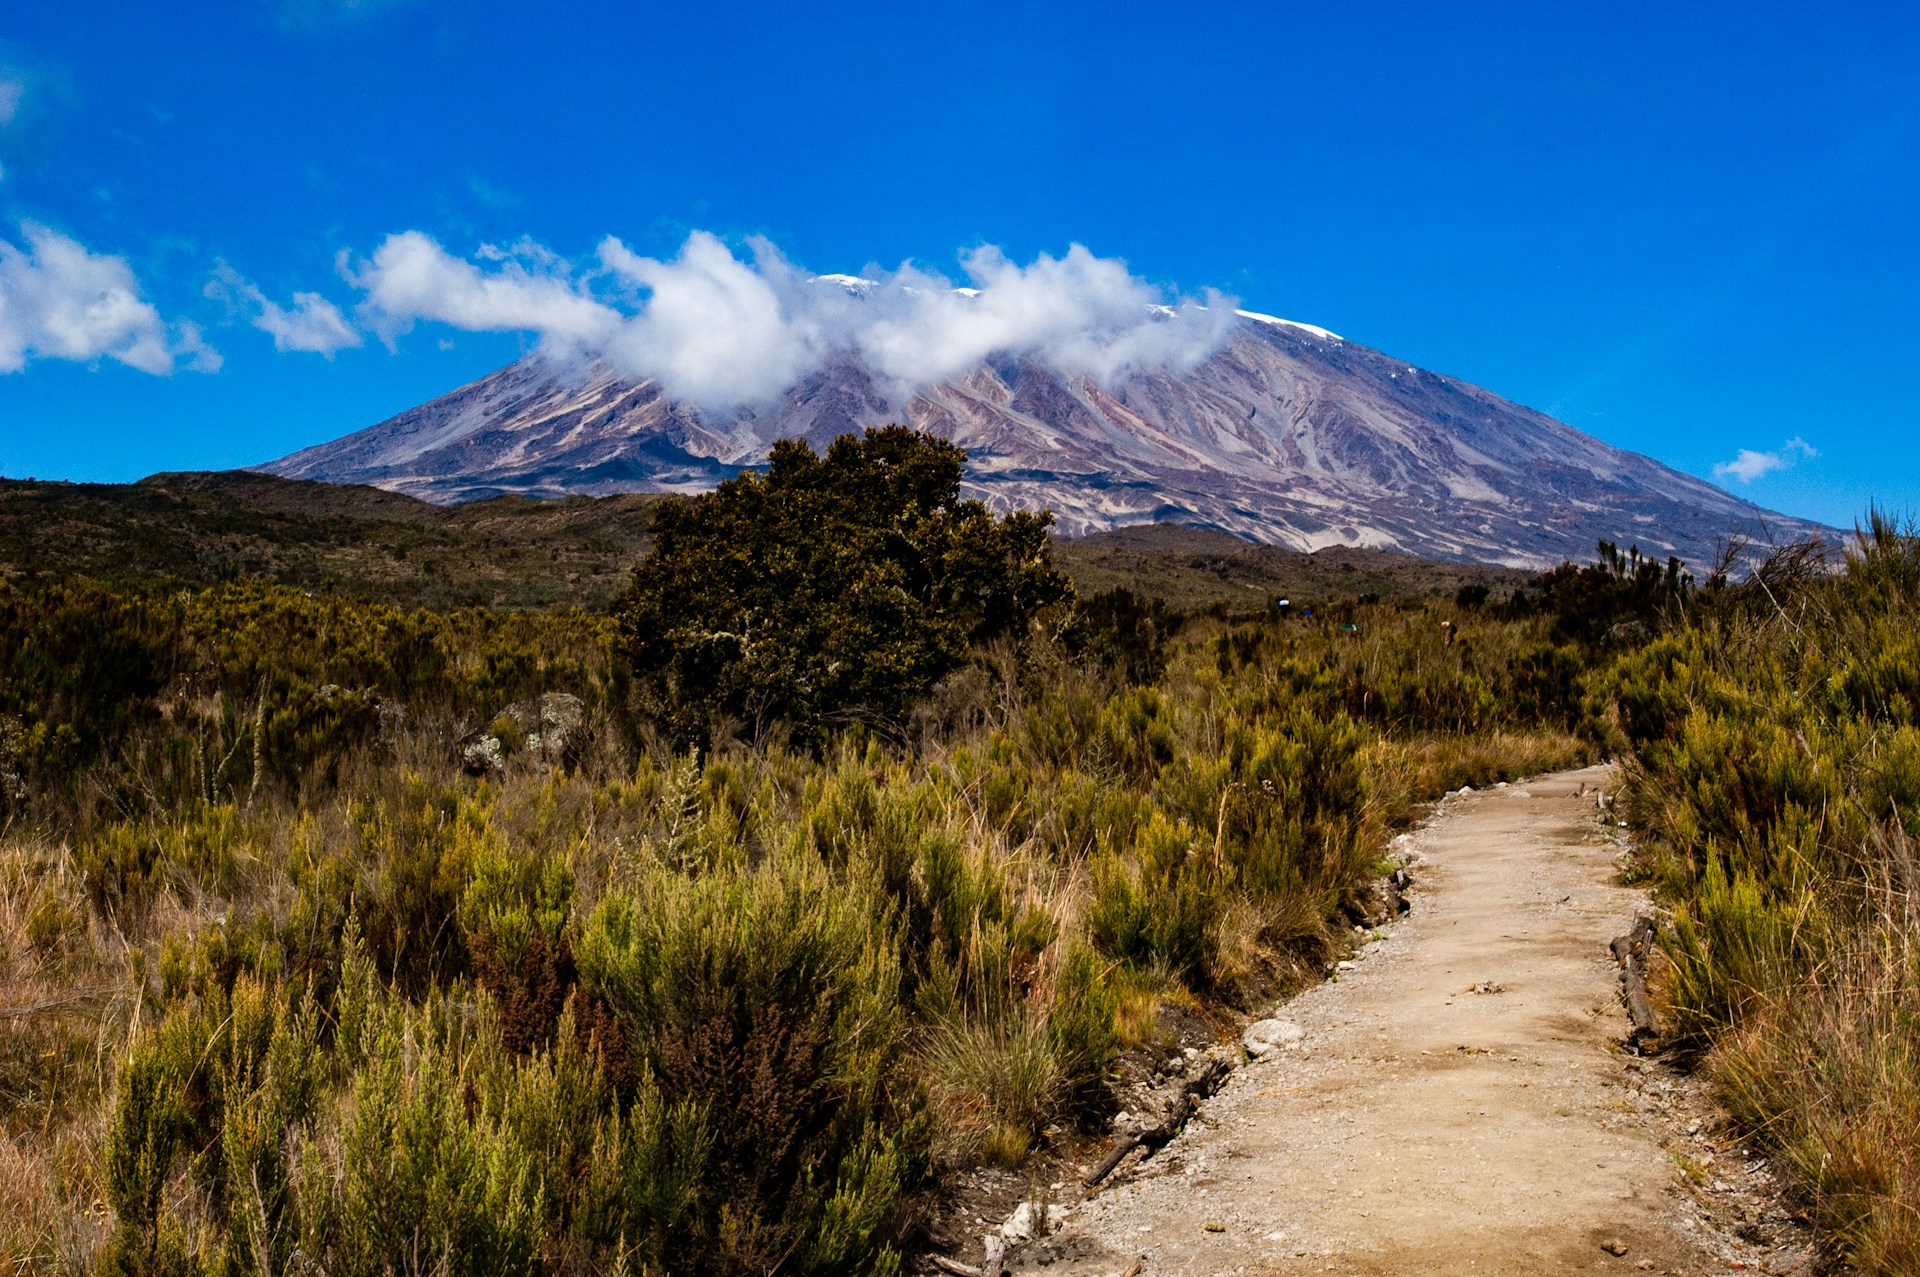 7 Days
Machame Forest Entry → Shira Plateau Traverse → Barranco Wall → Summit Base
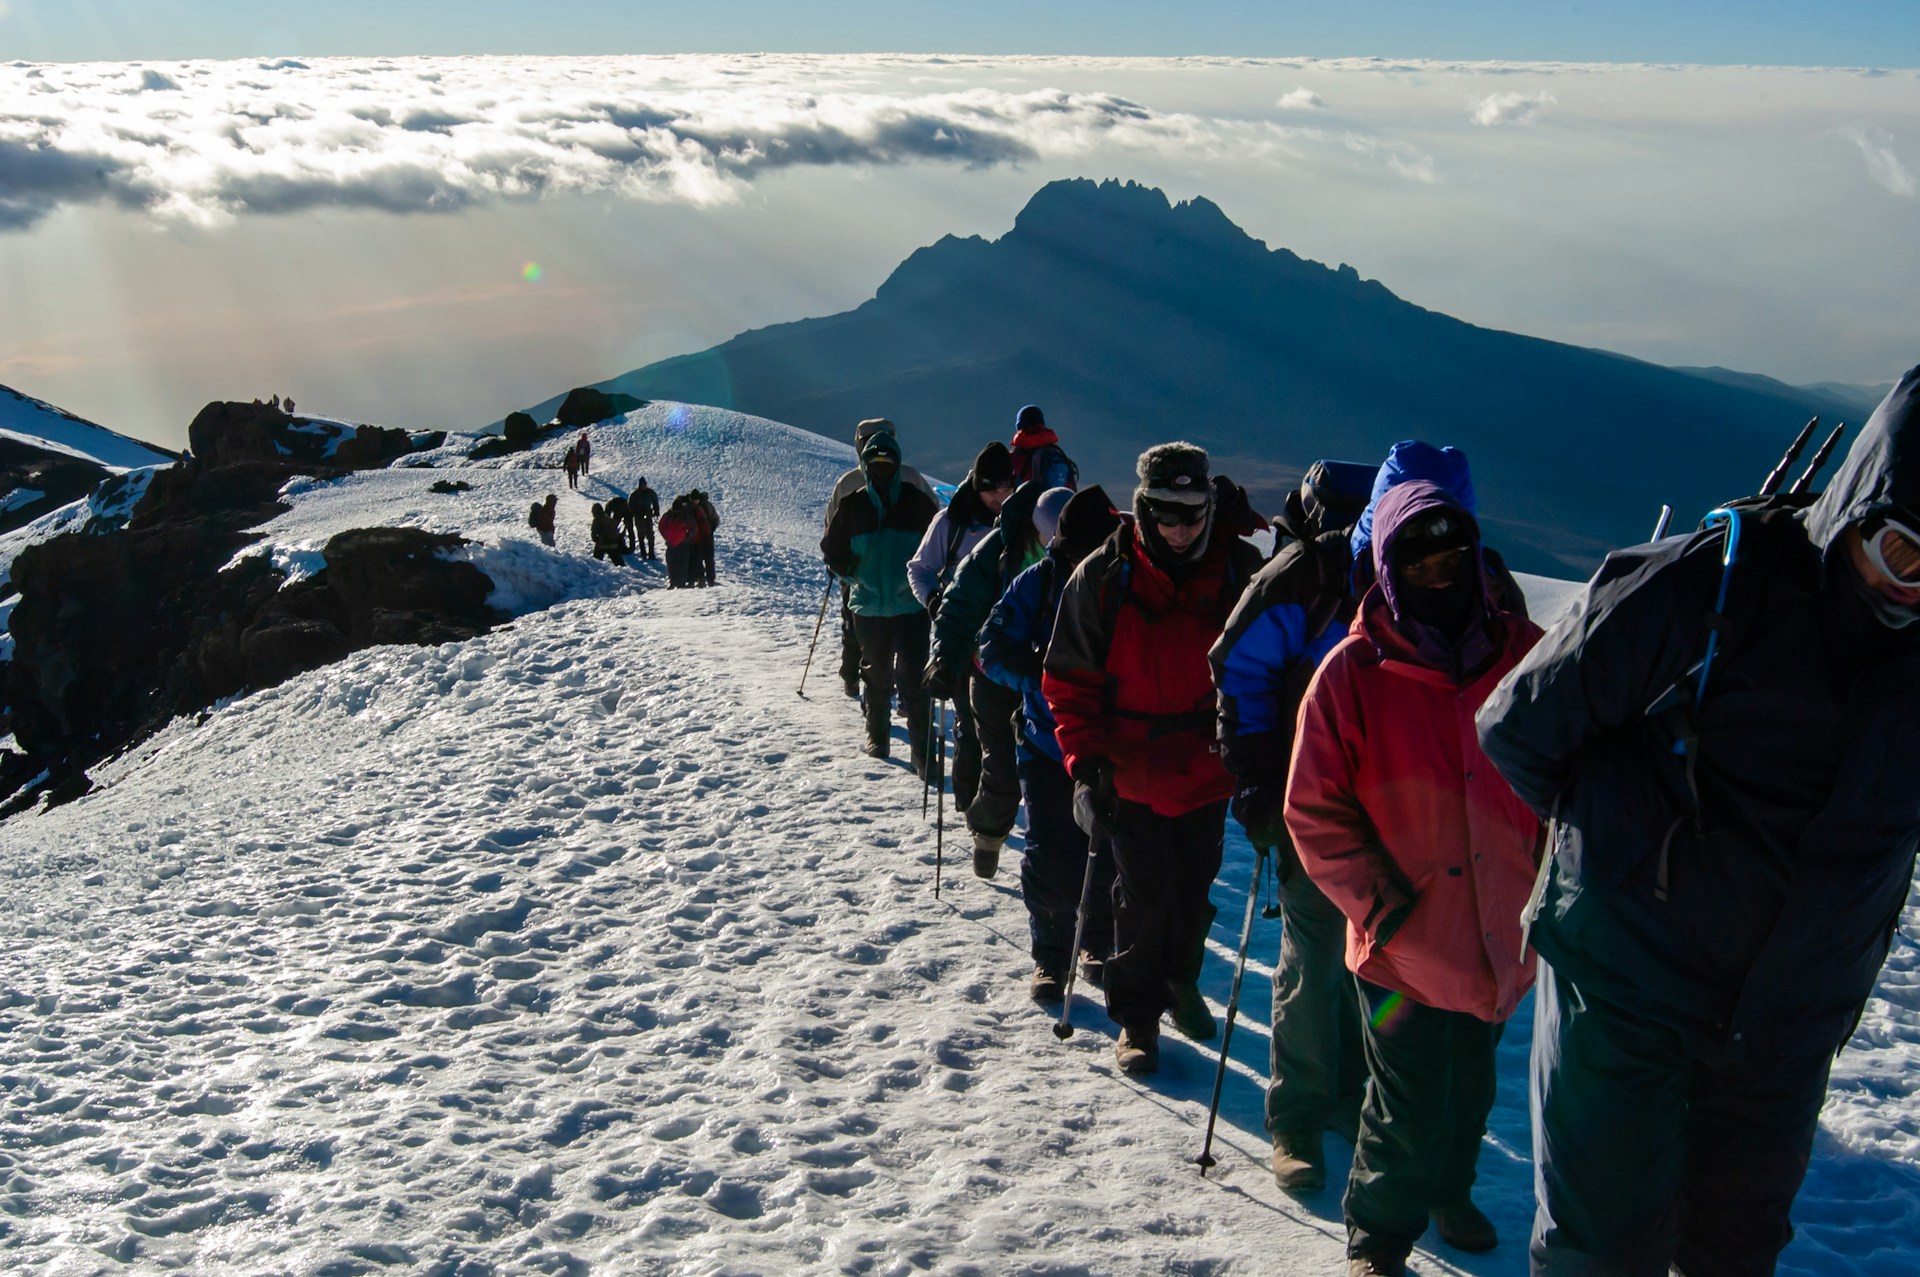 6 Days
Marangu Gate Entrance → Mandara Cabins → Horombo Village → Kibo Desert Base
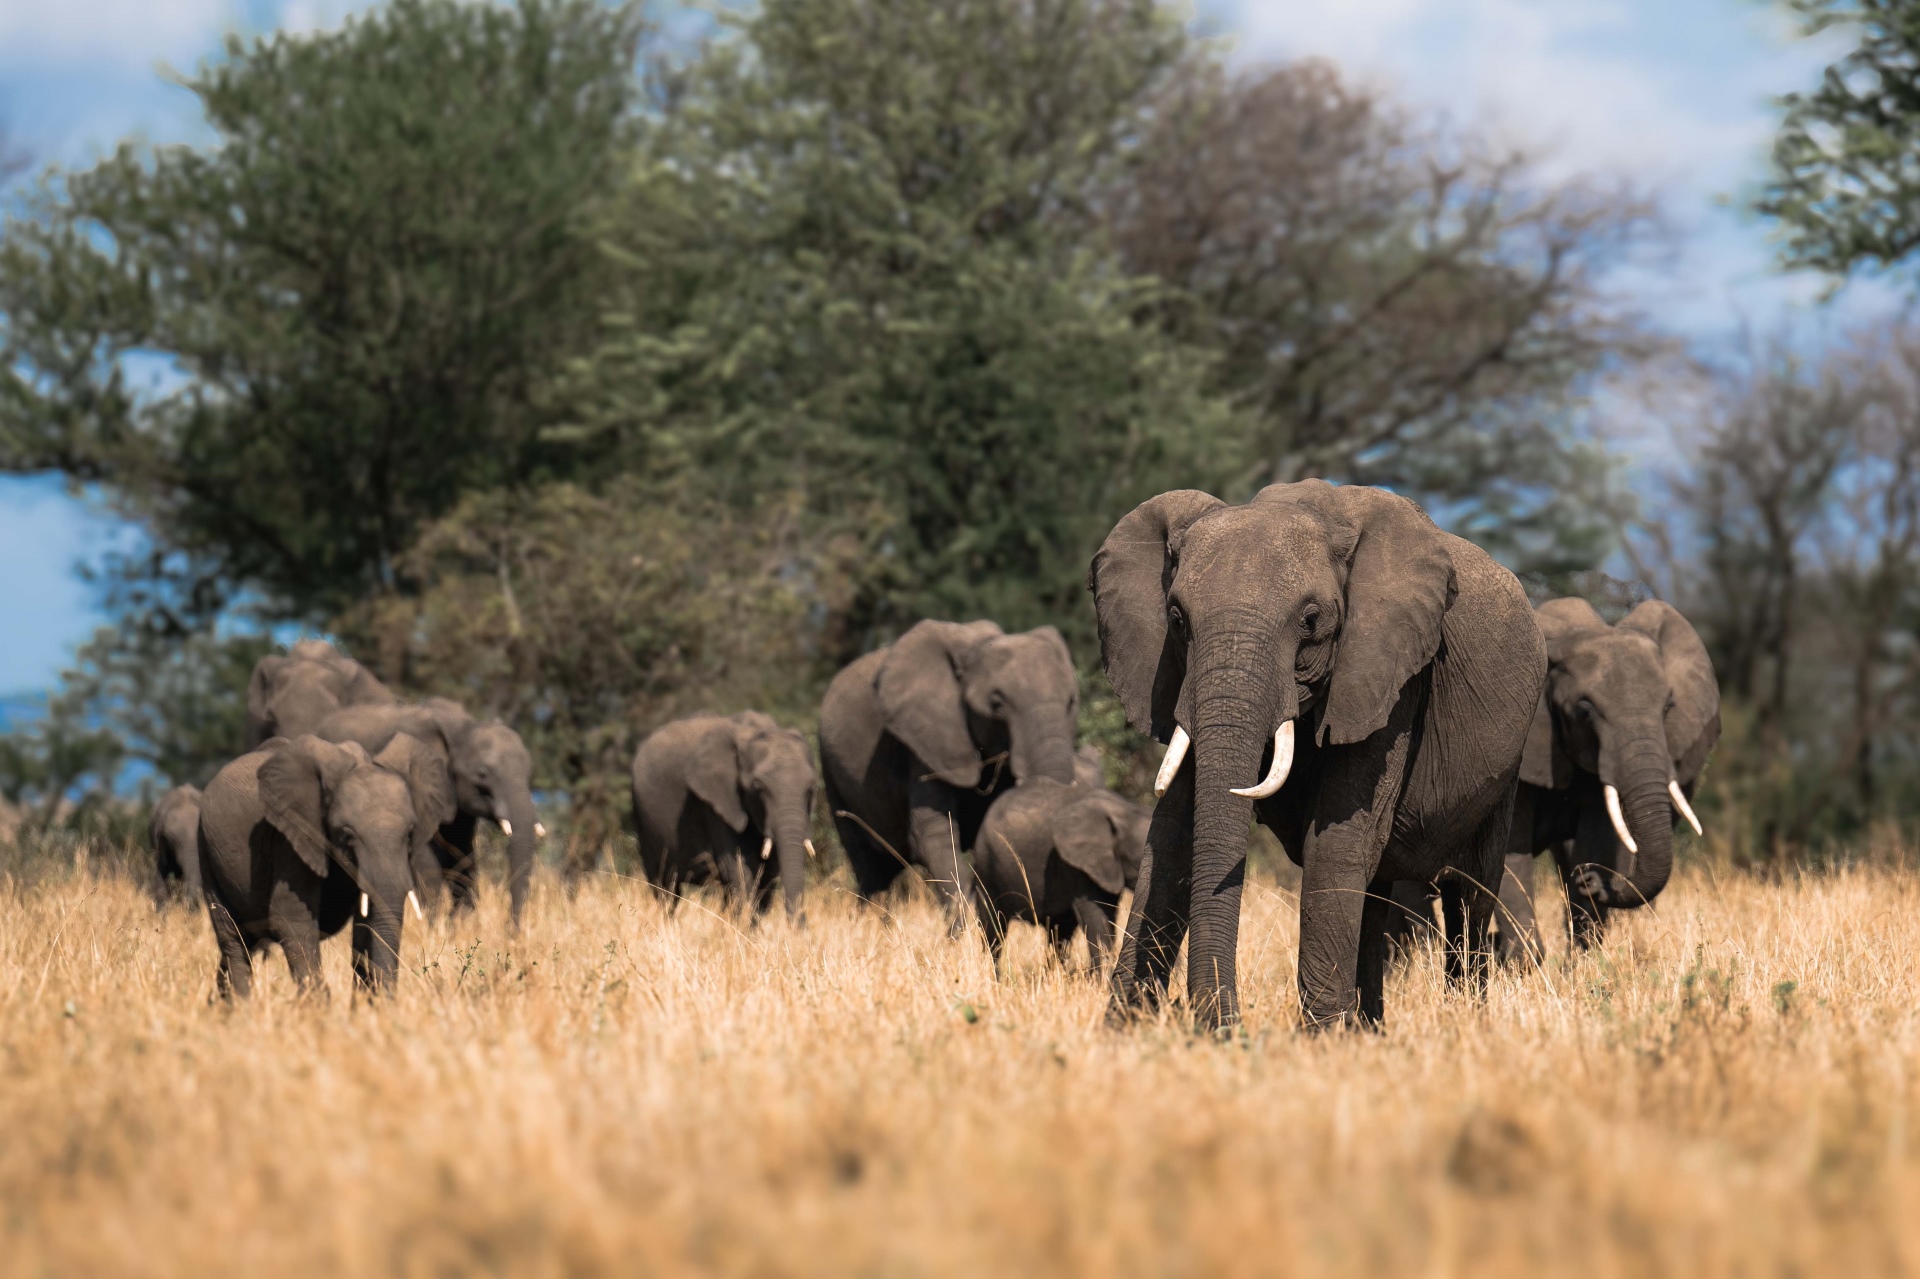 5 Days
Gran Meliá Arusha → Tarangire Canopy → Serengeti Savannah Channels → Fly-Back